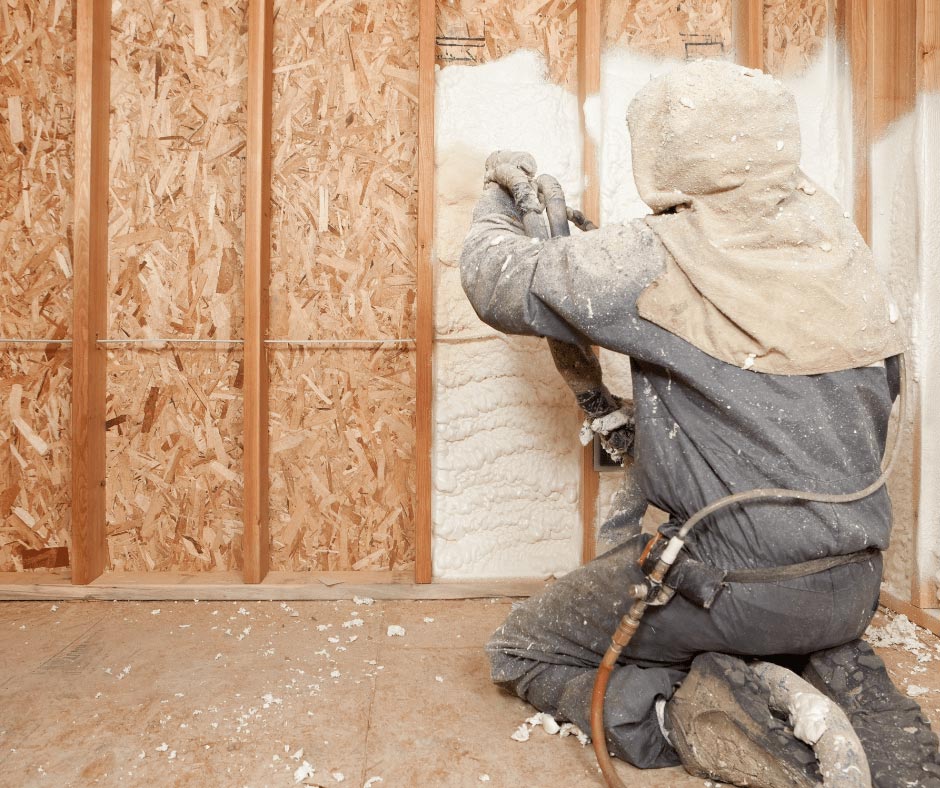
When it comes to creating a healthy home environment, proper testing of spray foam insulation is absolutely critical.
When it comes to creating a healthy home environment, proper testing of spray foam insulation is absolutely critical.
At the Healthy Building Alliance, we believe that understanding these testing procedures empowers homeowners to make informed decisions about their indoor air quality.
This comprehensive guide examines the two primary spray foam testing procedures we employ to ensure your home remains a safe haven for your family.
Why Spray Foam Testing Is Vital For Your Home
Spray foam insulation offers exceptional energy efficiency benefits, but without proper testing, it could potentially compromise your indoor air quality.
After proper curing, high-quality spray foam products typically emit fewer volatile organic compounds (VOCs), but professional testing remains the only way to confirm that your installation meets health standards.
Some potential concerns with improperly installed spray foam include:
- Chemical components that haven't properly mixed during application
- Inadequate curing conditions leading to prolonged off-gassing
- Emissions that persist beyond expected timeframes
- Interactions with existing building materials or finishes
Through our members' standardized testing procedures at the HBA, we can identify these issues before they impact your family's health and recommend appropriate remediation strategies when necessary.
The Two Essential Spray Foam Testing Procedures
At the HBA, we rely on two complementary testing protocols to provide a comprehensive assessment of spray foam installations.
Each procedure involves just two key steps that our members follow carefully to ensure accurate results.
1. A2-HSMA Air Quality Testing Protocol
The A2-HSMA test is our primary method for assessing volatile organic compounds (VOCs) that may be emitted from spray foam installations into your living space. This air quality test captures what you and your family are actually breathing.
Step 1: Setting Up the Collection Equipment
The A2-HSMA test begins with proper setup of specialized collection equipment:
- Unpack the air pump and VOC collection vial (the vial comes protected in a glass tube with a scored line)
- Carefully break the outer tube at the scored line to access the test tube inside
- Note the unique identification code on the test tube for tracking purposes
- Insert the test tube into the pump with the arrow pointing in the direction of airflow
- Place the pump in an open area of the space being tested, preferably on a non-emitting surface like untreated wood (avoid plywood which may emit its own VOCs)
- Ensure the testing area represents typical living conditions with normal temperature and humidity
Step 2: Conducting the Test and Processing the Sample
Once the equipment is properly set up, the testing process continues:
- Turn the pump on and set a timer for exactly 4 hours
- Maintain minimal disturbance in the testing area during this period to ensure accurate results
- After four hours, turn off the pump and carefully remove the test tube
- Immediately secure each end of the test tube with the provided red caps
- Place the capped tube in the clear protective container provided in the kit
- Complete the chain of custody (COC) form with all required information:
- Client name and address
- Exact testing location within the property
- Precise start and stop times
- Test identification as "A2-HSMA"
- Indication of fast turnaround time if required
- Pack the sample securely in the shipping materials provided
- Ship the sample to the laboratory as soon as possible for analysis
This comprehensive air sampling provides detailed information about the actual VOCs present in your living environment after spray foam installation, allowing for informed decisions about remediation if necessary.
2. A4-MS Bulk Sample Testing Protocol
While the A2-HSMA test examines your air quality, the A4-MS test focuses on the spray foam material itself. This bulk sampling procedure identifies potential outgassing compounds directly from the source material, providing crucial insights about the foam's composition and curing process.
Step 1: Collecting Representative Samples
The A4-MS testing protocol begins with careful collection of representative samples:
- Identify three distinct sampling locations that represent the full spray foam application:
- Beginning of the application (where the contractor started spraying)
- Middle of the application area
- End of the application (where the contractor finished)
- Using a clean knife or cutting tool, cut approximately 1" diameter samples from each location
- Ensure each sample includes approximately half the thickness of the foam (roughly 3.5" deep)
- Place each sample in a separate glass mason jar, immediately sealing it to preserve VOC content
- Label each jar clearly as "start," "middle," and "end" of application
- Note the time elapsed since the original foam installation (in hours) on each sample container
This sampling approach ensures we capture variations that might occur throughout the installation process, including potential inconsistencies in mixing or application.
Step 2: Documentation and Laboratory Submission
Proper documentation is critical for accurate analysis:
- Complete the chain of custody form with all relevant information:
- Client name and property address
- List "A4-MS" as the test item for each sample
- Document the precise sampling time for each sample
- Record the original foam application time for reference
- Clearly mark on the form the time elapsed since installation (in hours)
- Pack the three sample jars securely for shipment
- Send samples to the laboratory as quickly as possible to prevent degradation
- Request comprehensive analysis for volatile organic compounds and other potential contaminants
Laboratory analysis of these bulk samples provides insights into the chemical composition of your specific spray foam installation, helping identify any formulation or curing issues that could affect indoor air quality.
Interpreting Your Spray Foam Testing Results
VOC Concentration Levels
Results typically report VOC levels in parts per billion (ppb) or micrograms per cubic meter (μg/m³). We explain how your results compare to established health guidelines and recommendations from organizations like the World Health Organization (WHO) and the Environmental Protection Agency (EPA).
Specific Compound Identification
Advanced laboratory analysis identifies specific VOCs present, helping pinpoint potential sources and appropriate remediation strategies. Common compounds we may detect include:
- Isocyanates (components in spray foam that could indicate incomplete curing)
- Flame retardants (added to foam formulations)
- Catalysts and blowing agents (used in the chemical reaction that creates the foam)
- Potential breakdown products from aging or environmental interactions
Actionable Recommendations
Based on testing results, our members provide clear guidance on:
- Whether additional ventilation is needed to reduce VOC levels
- If remediation measures should be considered for problematic installations
- How to optimize indoor air quality moving forward
- Potential interactions with other building systems like HVAC
When To Conduct Spray Foam Testing
Timing is crucial when testing spray foam installations. We recommend following a simple two-step testing timeline:
Step 1: Post-Installation Assessment
Schedule initial testing approximately 24-48 hours after installation, when the foam has substantially cured but may still be releasing initial VOCs. This is particularly important if occupants will be returning to the space soon after installation.
Step 2: Follow-Up Verification
Complete the process with follow-up testing 30 days after installation to verify proper curing and assess longer-term emissions profiles, ensuring your home's air quality meets our strict health standards.
Creating a Healthier Home Environment
For more information about our members' comprehensive testing services or to schedule an assessment, Contact an HBA member of certified building biologists today. You can also learn more about our approach to creating healthy living spaces and explore our complete guide to non-toxic building materials.
Your family's health deserves nothing less than a home environment optimized for wellness in every dimension.
Related: Understanding VOC Testing in New Construction
Related: The Impact of Air Quality on Sleep Quality
Connect with a Healthy Building Professional on the HBA directory and transform your living space into a sanctuary of health and sustainability.